
Yes, yes... more shabby goodness today! I was trying to figure out what projects to make for the next Stamp Camp (we are on #3 already!) Debi and I decided to do a Christmas theme for the next class. For the past 2 years, I've been doing Christmas themed classes in the second half of the year, but I've been so busy this year, I haven't been able to plan that many Christmas projects. So I asked Debi if she wanted to do a Christmas themed Stamp Camp to satisfy the "regulars" that were asking for Christmas. She loved the idea, so we've been trying to brainstorm what we are going to teach.
I've been getting a lot of inspiration from You Tube recently- looking for more shabby inspiration. And I stumbled upon several tutorials on how to make a 3-D bridcage using the Tim Holtz Sizzix die. I loved the results I saw, so I tried to make one to see if it was feasible for our class. I think it took me awhile, only because I was trying to figure out how to decorate it. The actual construction wasn't that bad. Here's the link to the tutorial I used to make this one, but there are several different tutorials out there.
On to my project... So I cut 4 of the Tim Holtz bird cage die out of this old paper from my stash. I wanted it to have that shabby look, so I chose to use the side with the script writing on cream. The other side was a nice aqua color, which goes with my shabby chicness! Perfecto! I guess you need to keep the backside of the cardstock you are planning on using in mind since it will show.

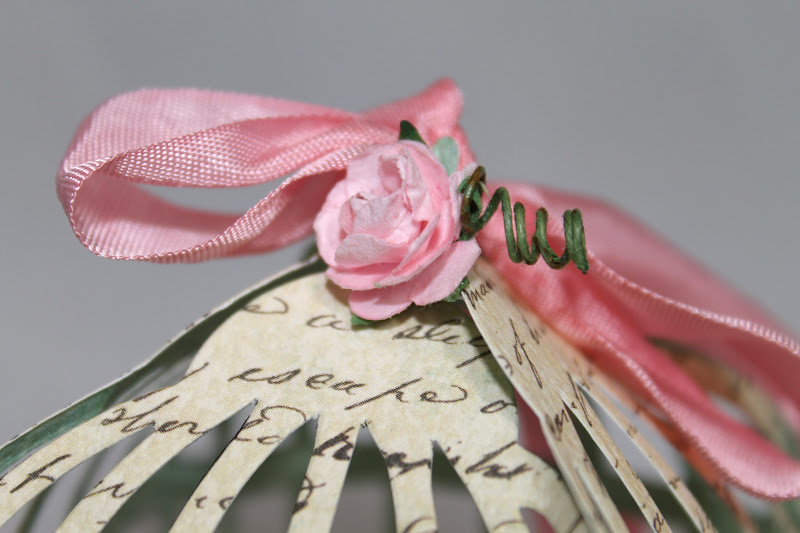
I decorated the outside of the birdcage using some Tim Holtz ribbon trim. It had an elastic ruffle, so I glued on some pearl trim to cover the elastic. Then I glued on some roses by Wild Orchid Crafts along the bottom of the cage.

On the top of the cage, I used the Tim Holtz seambinding and inked it up using my Spun Sugar Distress ink pad. I went direct to ribbon using the pad. I thought I had the Spun Sugar stain, but I guess I don't. Guess I'd better add that to my wish list! The color matched perfectly!
Now, I don't know if you can see this, but I wanted to take a pix of the inside of the cage. I added some roses to the cage floor then stuck the bird (also from the same die) into the roses, which helped the bird to stay up. I added some glitter to the bird's breast and wing so you could see the difference even though I was using the same colors. I think next time I'll add some pearls to the bottom of the cage too.

I am liking this birdcage idea! I wonder if TH had that in mind when he made it or if his followers just came up with a great idea! I really don't know who came up with this brain child, but it was pretty ingenious!
I need to tweak it a bit since I don't know about the whole shabby chic look for the class. If I come up with a newer version, I 'll share it here.


4 comments:
Pretty cool Jenny. Love the details and the added rose petals inside the cage are perfect.
;)
so pretty but it looks like a lot of work!!!!
WOWSER!!! You are on a roll. This is totally G-O-R-G-E-O-U-S.
Another OMG project! I am so jacking this project! Thanks for sharing girly!!!
Post a Comment