Saturday, August 23, 2014

Crafty Friends- Canvas Swap

 In case you were wondering.. yes we did have a Crafty Friends Swap again.. This time it was my choice.  I decided to challenge everyone (including myself!) to make an altered canvas.  The criteria was to include a Gorjuss Girl image since I'm totally addicted to them, do t up in vintage theme/colors, needed to include a word or sentiment, and include at least one handmade embellishment.  Cami had given us some 5x7 canvas boards earlier, so we decided to make our canvases that size.  Considering this was my idea, I had a hard time! 

Because everyone was a little intimidated by this challenge, we decided to just make one canvas and pick names.  That in and of itself was an ordeal.  We must've picked like 4 times before we had it so no one picked themselves!  LOL!  I ended up picking Cami and was excited to get to work.

Now whenever I think of Cami, I always think of pastels, so this was a bit of a challenge for me.  I started off by cutting some music sheet paper but ended up not using it on the front.  I used it to cover the back instead.  Instead, I opted for the stationer's desk paper by Prima.  Since there were touches of red in that paper, I decided to use red as my accent color.


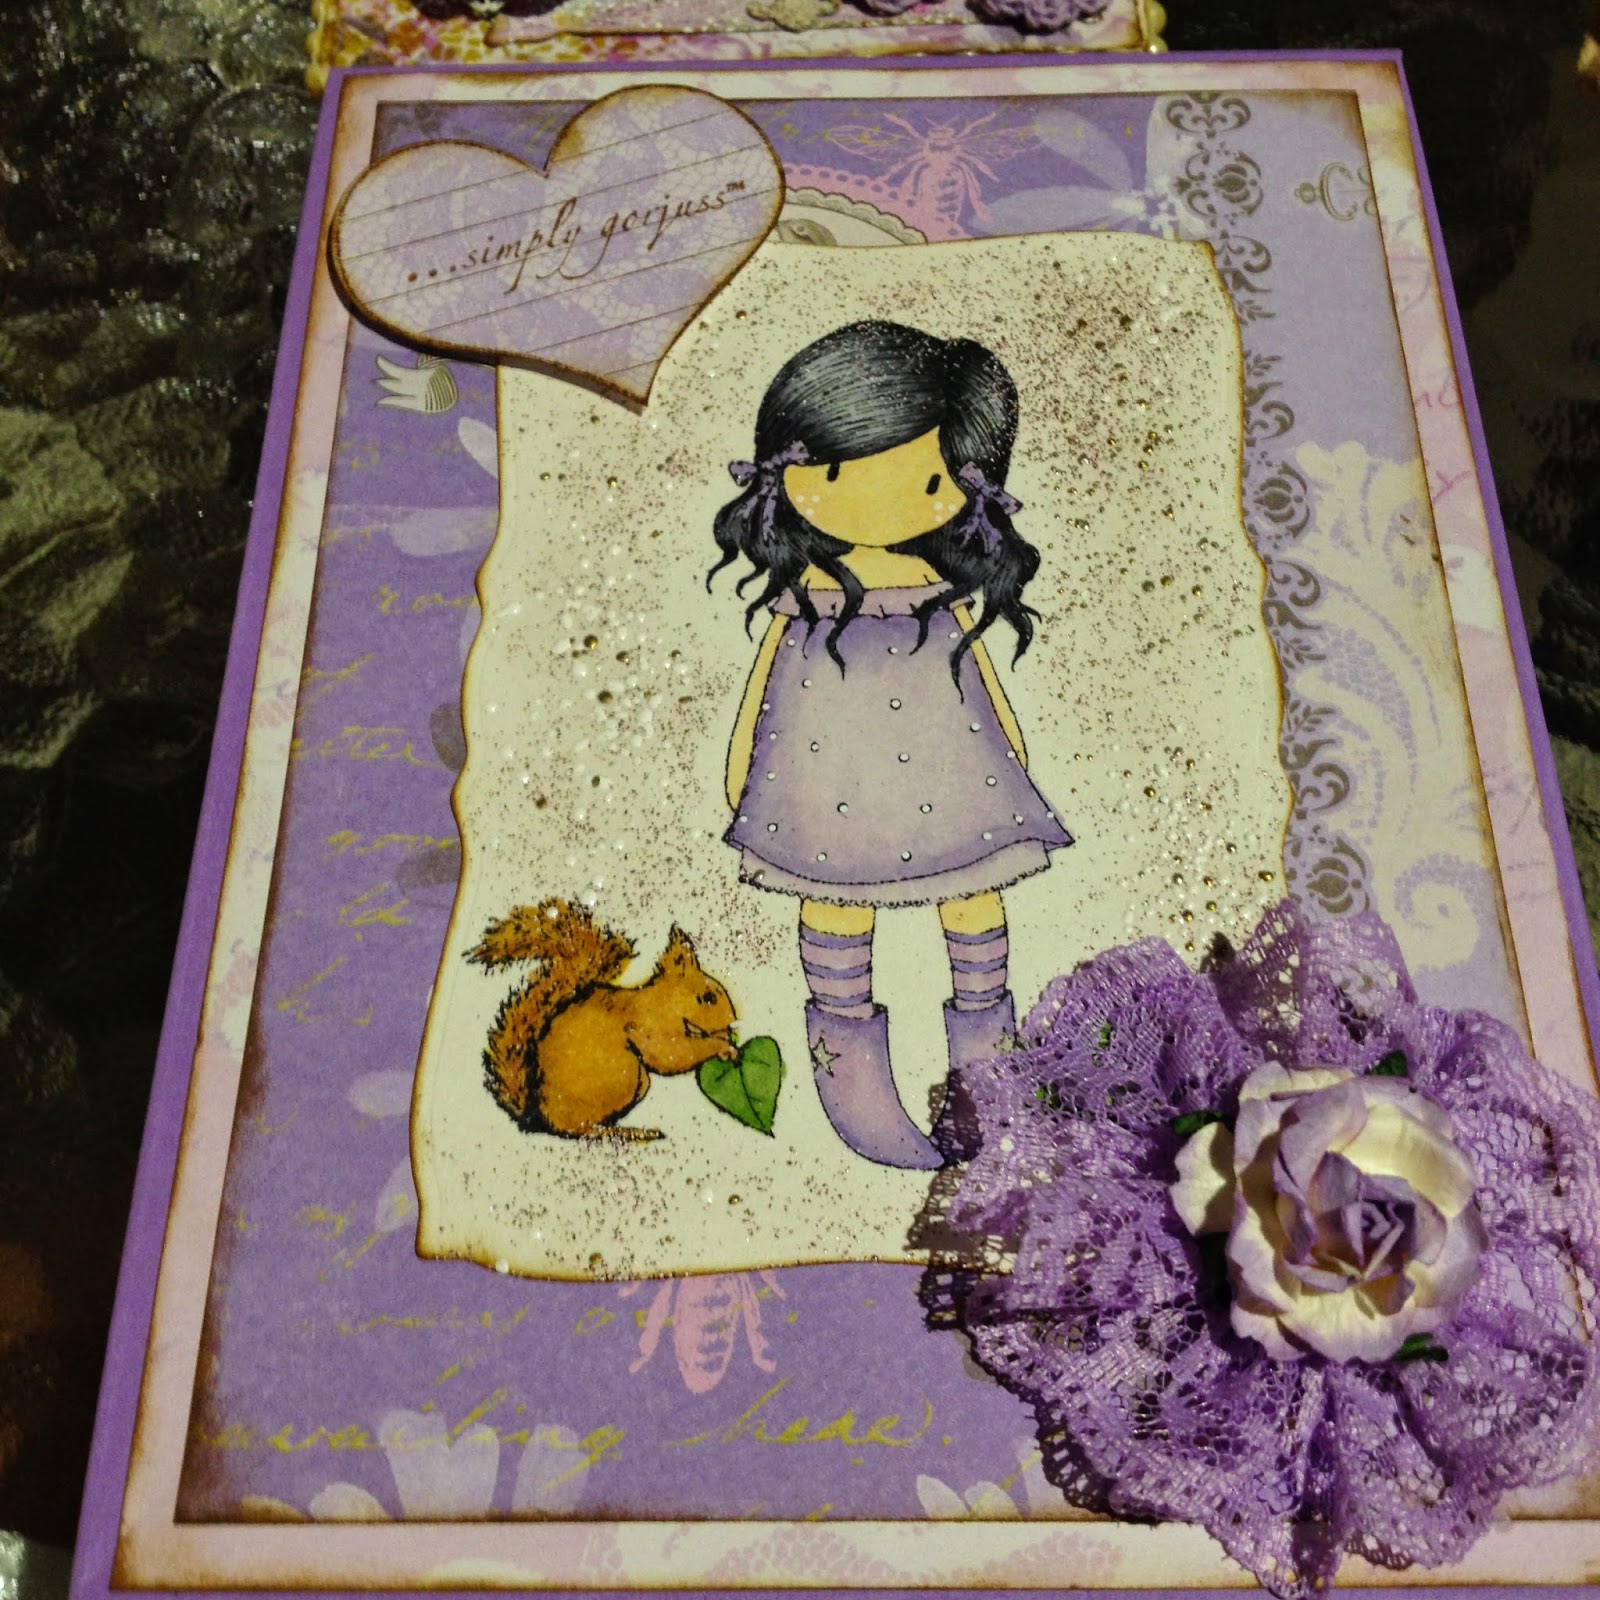
For some reason, when I think vintage, I think Paris and the Eiffel Tower.  I cut out one using my La La Land die- love that Eiffel Tower die!  Then colored up the Ladybird Gorjuss Girl image.. she's one of my faves.  The handmade embellishment I used was that crochet flower you see in the corner.  added some twine and a flower center to the middle. Around it is a cluster of roses and some pearls.


Recently, I purchased some wood pieces from SaCrafters.  I love her stuff.  The Friends pieces comes plain, so I just rubbed the front against my archival black in pad and it seemed to do the trick.  The sentiment below was from a PTI set.  Below is the other cluster I added for balance.  Included a doily, more roses and a metal butterfly piece I got awhile ago from Butterbee Scraps.  I'm finally using them!


Since I also love hearts, I added some crystal hearts to the project.  I also added some black lace and a long crystal flourish.  I think it was a Recollections brand?  Not sure.  I gotta say, once I got going.. it was really fun to make!  Now I wish I made one for myself!  But I was very excited to see what my friends came up with...

We met up at 99 Ranch (that's a whole 'nother story that I'm not gonna cover) Market and had lunch while we shared our projects.  Kyoko went all out and made this beautiful canvas for Linda.  I was so jelly!  I wanted that one too!  Love how she did it portrait style. I found out that Linda asked for her canvas to be in blue.


Her coloring's getting good!!!! Love it!  And love that she included green with the blue!  One of my favorite combos.


Next up is Cami's canvas for Kyoko. Cami always makes pretty packaging to go with her project.  Love the box in the back!


Here's the canvas for Kyoko. That color scheme is so pretty!


Here's a close up of the image. Even her dress is Gorjuss!


I believe she made those flowers.


She probably made these too.


And there's her sentiment. She used frantage to accent it.  Still haven't used mine yet.. LOL!


And here's that beautiful box!


Pretty sure she made this flower too.


More frantage around this GG.  I love this image.


And what a cute tag!

 
Next up was my canvas from Linda.  Eek!!!! I was so excited!! Especially since it came wrapped like this!! (you know I'm gonna save that flower too!)


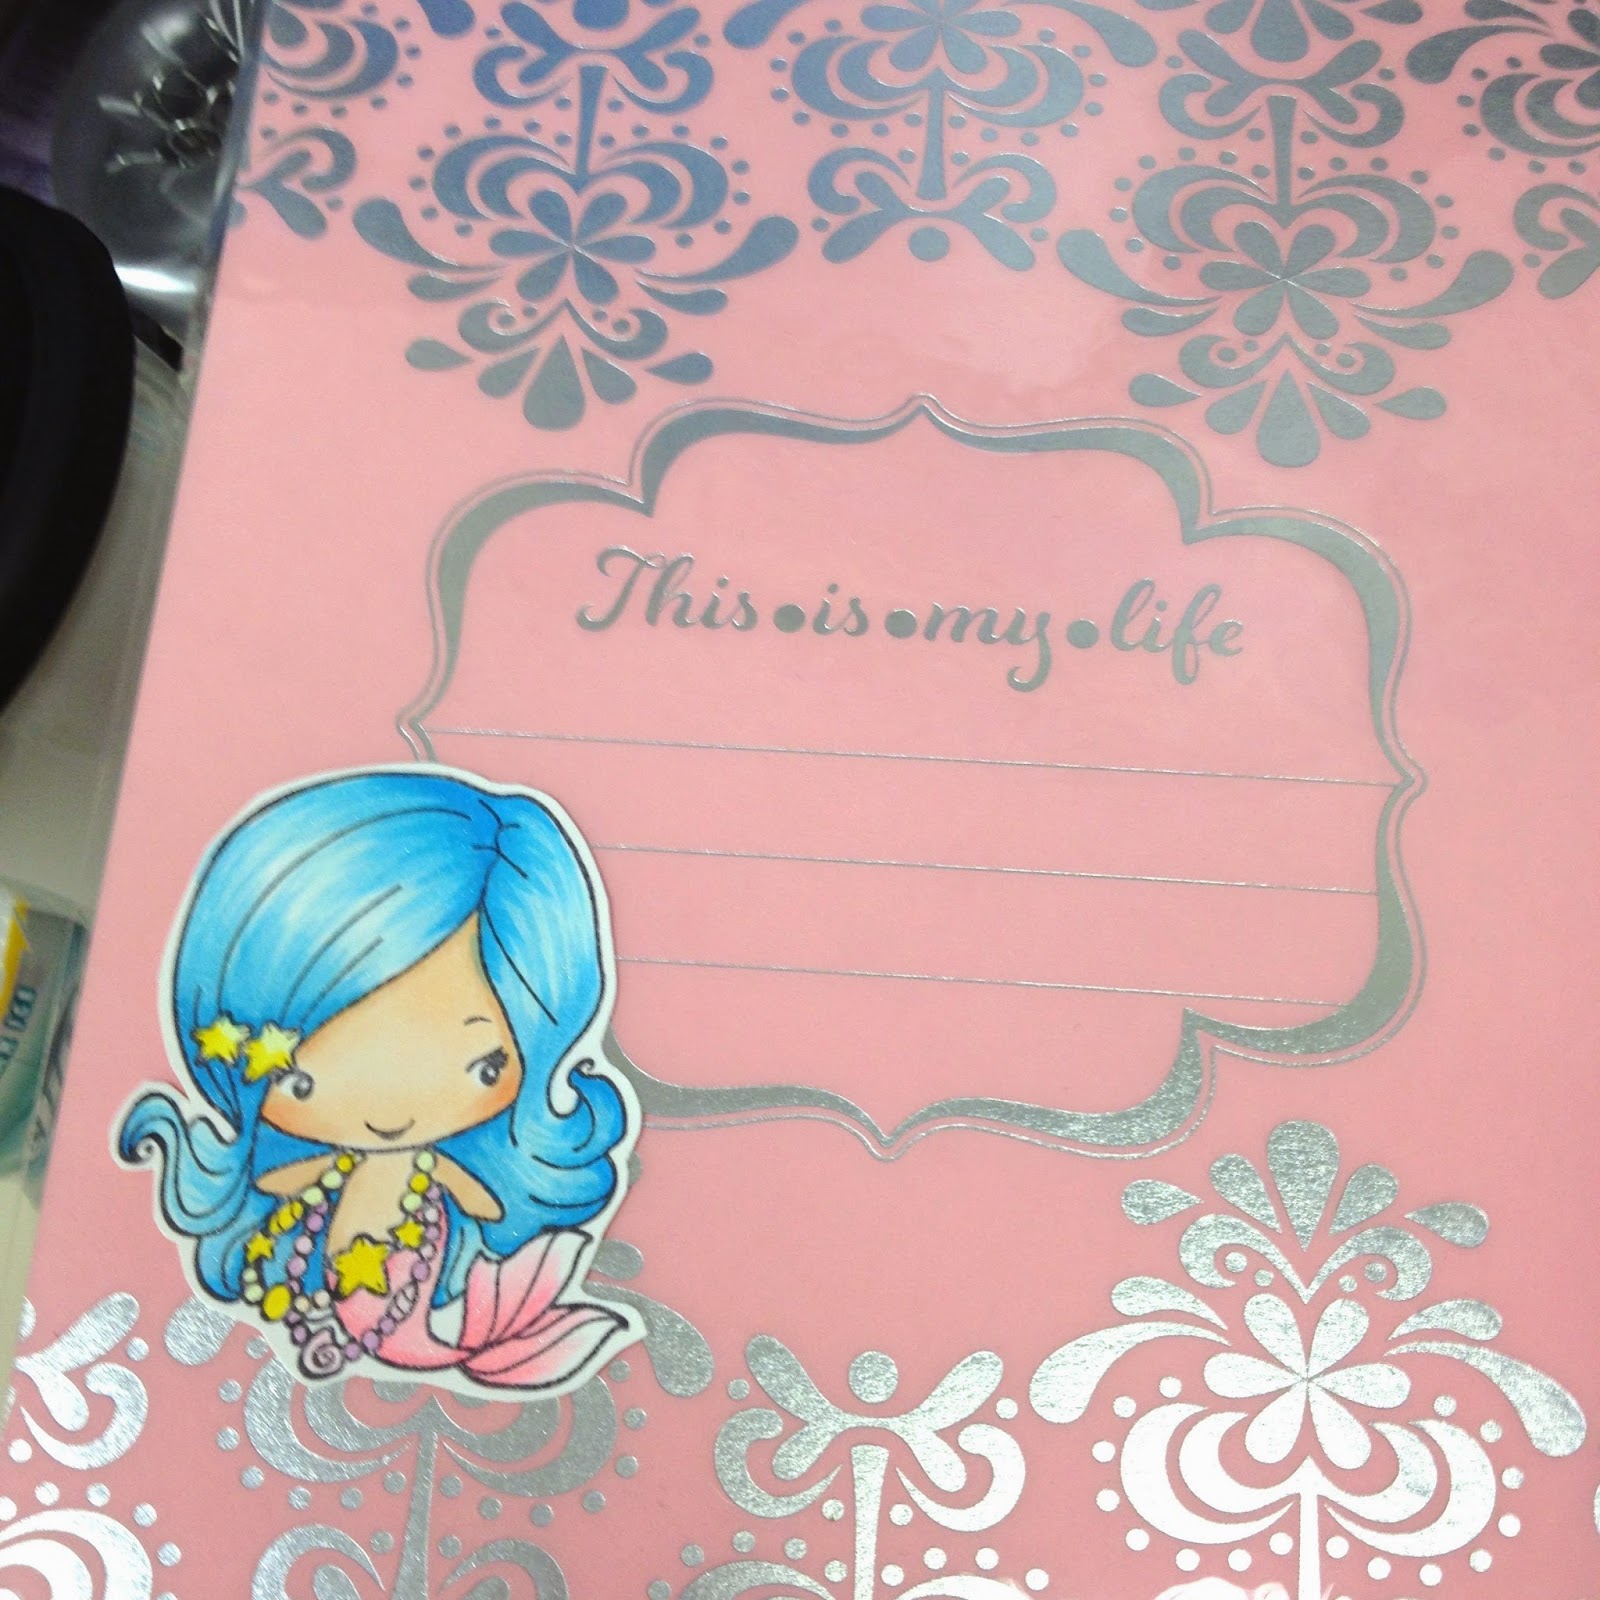
I  LOVE THIS CANVAS!!!!  OMG! I couldn't believe it was for me!! Thank you sistah!  You used one of my favorite GG images.  Love it!  And check out all those handmade flowers!!  I feel super special.  She picked one of my favorite images!  I actually special ordered this image for myself.. so happy she chose that one for me!


 Here's a closer look at Daisy. I love all her pearl jewelry!  I am pretty sure she sprayed her canvas.  She chose my other favorite color combo!  Pink and brown!


I gotta figure out how she made those beaded sprays.  Super cute!  And do you see that white leaf?  That's made from those mod podge melts.  I feel bad cause Linda RAK'd that too me awhile ago and I haven't tried them yet.  I'm scared when it comes to new things.


Here's a close up of her paste.  Love it!

 Looks like she used burlap on this flower...

 Oooh and my favorite pearl spray!  I made her go to find these in Downtown LA on our trip.  Love it!


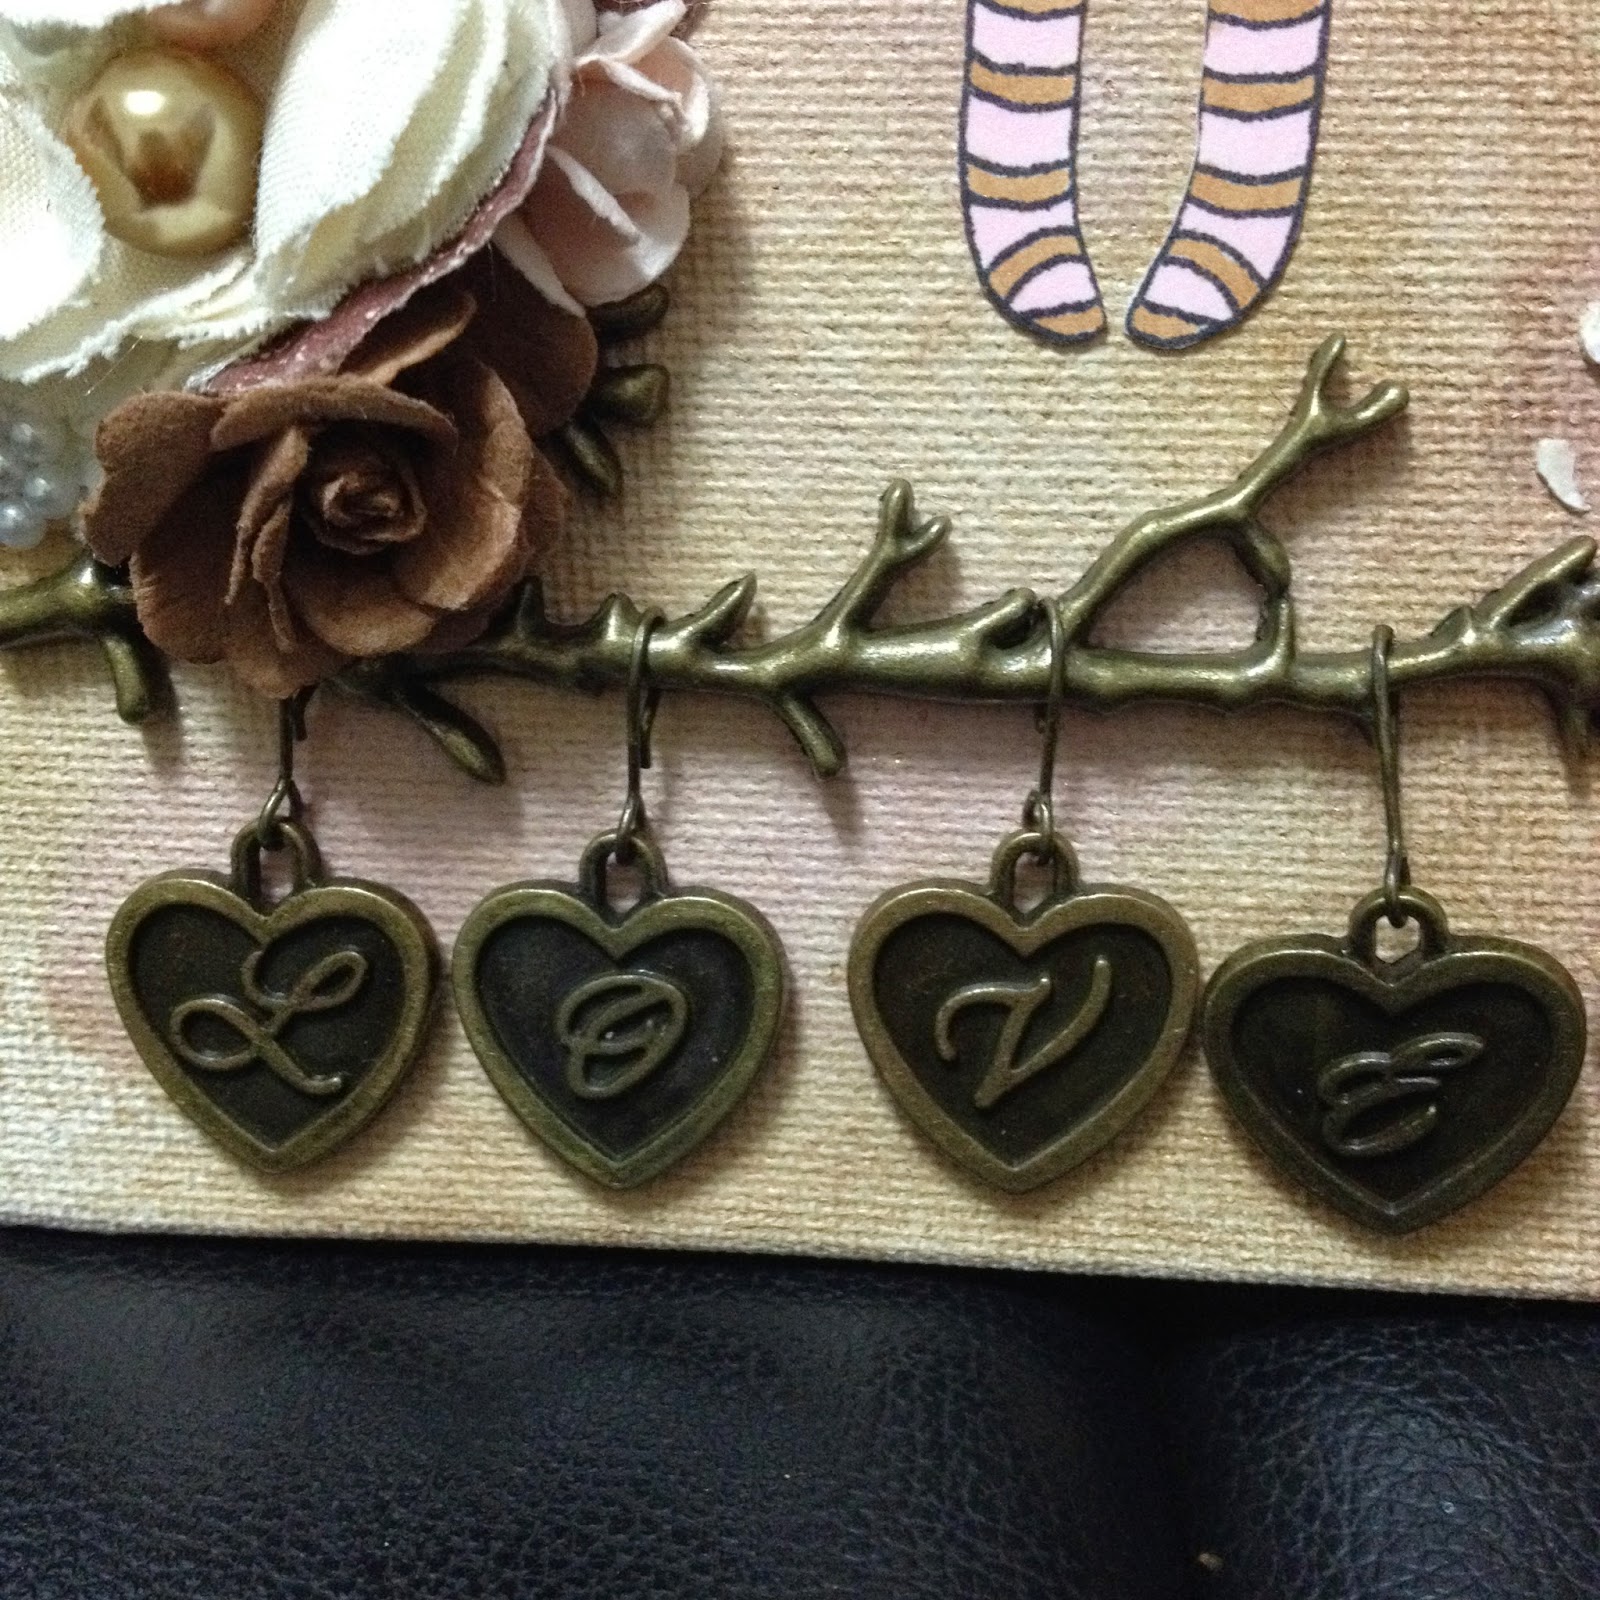
And I feel so special that she used her Prima "Love" branch on me!


Overall I'm so proud of all of us!  We've really stretched ourselves and managed to accomplish things we never thought we could do! (patting us on the back).  Seriously, if you have some crafty friends, you should do swaps. It really does inspire you and push you to new crafty levels!  Thanks again ladies for another great swap!

Friday, August 22, 2014

RAKs for my Crafty Friends

 See.. told you I've been crafting!  Just not posting!  Sorry about that.. but I have some time now and I'm trying to catch up on posts to show you what I've made. I think I mentioned this before but we are not supposed to buy any RAKs for each other.. we can only give each other food items or handmade items.

First up are some shaped tags that were inspired by Tmika.  You can check out her blog here... and her YT channel here.  She's one of my favorites to watch!  She's so cute- makes me want to make everything she makes.  She hosted a swap that I was too chicken to enter, but I still wanted to play along, so I just made my own and shared them with my friends.  


 I cannot take credit for these.  I saw the mason jar on her video and someone posted the bubble gum machine tag on her facebook page as a share.  I loved both of them and really wanted to make some!  I still want to make the teacup one too.. need to try that out soon!


 The other thing I gave them was some altered clothespins.  The first group of clothespins were inspired by my friend Rina Scrapstress!!  She made some cute flowers using shells as the center, so I copied her use of shells onto this clothespin.  I used the Prima Seashore paper and corrugated stack by DCWV for the hearts.  Included some cheesecloth and twine before adding the shells and pearls. I love how they came out!


I made some Hello Kitty and rosette clothes pins as well.  Here they are packaged up.


And also gave them some handmade flowers.  CreativeKelly4rmCali did a tutorial on how to make kanzashi flowers that copied.  I also tried out Natalie's (Putsomeblingonit) 9 petal flower tutorial.  (Thank you ladies!)


Thanks for stopping by!  Have more projects to share.. including my swap!

Thursday, August 21, 2014

Erin Condren Life Planner


For a little while I was using my iphone as my planner, but after about a year, I realized that it just doesn't work that well for me.  I guess I'm a visual person and it helps me to see everything coming up on my schedule.  So I jumped on the planner bandwagon after watching some of Nadine's videos (hi Nadine!!). If you haven't checked her out yet, you need to.  She's hilarious!  Now I'm in no way as hardcore as a lot of others out there, but I do enjoy decorating my planner!

The Erin Condren planners really appealed to me. I was thinking about getting one anyway... and then I saw a preview video on YT that said that... wait for it... you can change out your covers!!!!  Yippeeeeeeee!  SOLD!  So I placed my order and patiently waited for my planner to arrive.  Above is a photo of what came in my box.  I know you must think I'm nuts, but I got the pink/platinum combo and then bought another cover in the same design but gold and mint.  Love it!!

The other thing that I got really excited about was my new Magical Beans kit by The Greeting Farm.  I got the set from Jamie at Not 2 Shabby and do not regret it one bit!  Each image is so darn cute!  Since they are "magical" I decided to color them up with colorful hair...


 Then I had some creative block and didn't know what to do with them...  I looked over at my planner and then the light bulb came on....  Hello!?  Put them in your planner!!!  Here's how I used them... I think the mermaid is one of my faves, so she gets to go on the inside cover!


The next page was a piece of vellum, so I added my second favorite bean there.  Cool how you can see the images on the next page peeking through!


Here's the next page..


I love the sentiment on this next 2 page layout!  So cute!


And a closer look at the images...


Here's the last of the Beans...


Hope this has inspired you to start decorating your planner.. if you still use a regular planner!  Enjoy!

Tuesday, August 19, 2014

Altered Violin Shadow Boxes

 Ahhhh, I'm back!  Yes, I know I'm MIA again, but I have been crafting!  Today I have a special project to share with you.  My nieces were flying in from LA and both of them play the violin, so when I saw these from SaCrafter's Zibbet site, I couldn't resist. It was just too perfect a project to make for them.

When you get the kit, it comes with several layers of the outline of the violin and one of the backing.  I wasn't sure if I was going to make it a shaker box or not, so I glued most of the layers together and kept one separate just in case I wanted to put acetate in between.  I'm not a painter, so this is the junkest part for me.


After all the paint was dry, I was finally able to get to the fun part... decorating!  Here's what I came up with...


My two nieces regularly compete in violin competitions.  I've never seen one before, but my family sends me pictures.  This year, both girls won in their competitions!  Yay! I decided to use their pictures in the shadow box to personalize it for them.

 My younger niece is a very wise girl.  She is very self confident and very intuitive.  I love those qualities about her, so I chose to use a stamp I got from Michael's that says "Be Yourself, nobody does it better".  I think that really fits her personality!


As girls can get picky, I wasn't sure what color my niece preferred, so I decided to go with a pastel theme and just picked all different pastel Wild Orchid Crafts and Prima flowers for my project.  The background paper is from one of my Tilda paper stacks.  I had to trace the violin shape onto the paper to make sure it would fit inside.


On the side of the violin, I added some flowers and a little bird.  Love it!

This photo was actually from last year's competition. The photo they sent me from this year's didn't look right, so I decided to use last year's photo.


Here's a better look at that sentiment.


Oh.. and I made a heart using the heather flowers from WOC.  Love it!


And finally getting around to using some of my Prima charms.  Hard to let go of, but happy its going on a project that hopefully the girls will keep for years to come.


The second project to share was for my older niece.  I thought she still liked blue, but I guess I was wrong.  Found out she likes purple now.  I'm sure that will change in a few months.


For my older niece, she needs a little more encouragement than her sister, so I chose this sentiment from a Stampin Up set I purchased recently.. just for this stamp!  I love this sentiment!


And I used another charm on this one too.  Went with the bird one this time.


Here's a closer look at the flowers I used.  Again from WOC and Prima.


Added a blue bird to the flower cluster...


Hope you liked my projects!  I gave them their violins this past weekend and they seemed to really like it.  Will post another project soon. Hopefully I won't be MIA as much as I have been.